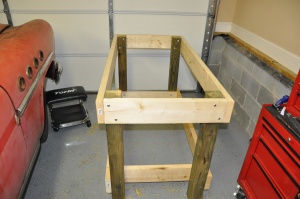
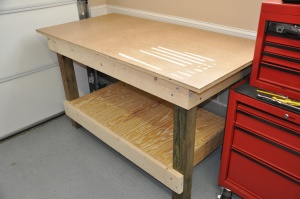
This past week provided me some time to build a workbench for my garage. I wanted a sturdy one that would hold up to all the beating and banging that it is bound to receive and also large enough for a vise and bench grinder. I ended up deciding to build the frame out of 4×4’s and 2×6’s. Since it’s going to be pretty heavy when finished I decided to bolt it together which will allow it to be taken apart for moving/storage.
I put a 3/4″ top and shelf on it and then also put a 1/4″ piece of masonite on the top. It probably didn’t need it but I like having the slick, hard top with no splinters.
I’ll be looking for a vise this next week because I know I’m going to need it. Anybody know any good deals?
Most people probably don’t get too excited about a workbench but for some reason I always like building them. When you spend all day working on a computer or reading about changes in accounting standards (Yes, I’m an accountant.), it is a welcome break to come home and build something (or tear something apart in the case of the Buick)!
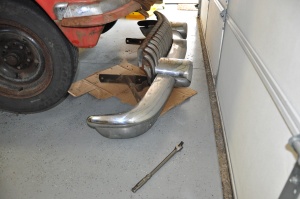
The lesson of the week came from my struggles with the front bumper. I’ve decided one of my first steps in this process will be to take off the chrome and stainless trim on the entire car. I am going to redo the stainless myself and send the chrome off for replating. Back to the front bumper, the bolts were a challenge to loosen and I fought for a couple of days with WD40 and a ratchet to no avail. Then I decided to go and purchase a 1/2″ breaker bar and what do you know the bolt loosens on the first try. For some people this is probably just common sense but like I said, I’ve been locked up in front of the computer and in the air conditioning too long so it takes me a little longer. Lesson of the week: if I’m having a hard time getting something done it’s probably because I don’t have the right tool! That $20 breaker bar is now my favorite tool. Oh, and it has a lifetime warranty; you can’t beat that!
Taking the stainless and chrome off should give me a better idea of the condition of the body and the rust situation and I also hear that it takes a long time to get the chrome back from the replater so this seems like a good place to start. Thus far the rust situation doesn’t seem too bad. I hope that trend continues.
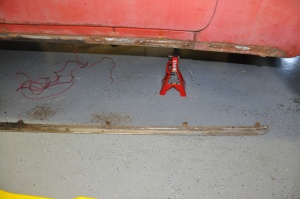
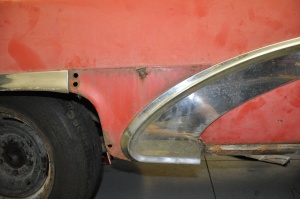
I am stuck again though. The picture to the right shows the piece of trim that I’m having a hard time getting off. The bottom part of it is loose but the top part is attached and I can’t get to the other side to unbolt the piece that is locking it in place. Maybe there is a tool for this too and I just don’t know about it yet. Hopefully, I’ll figure it out soon!
If you can’t tell, I’m really enjoying this!

Hey, I finally figured out how to comment. Not sure exactly how the trim comes off but if you have one side loose, you can take a hack saw blade and just cut whatever is holding the top side. You will probably need new replacement clips anyway.
Good luck.
Later,
timbo
Thanks for the tip Tim. Ultimately, that may be what I need to do.
Hey what did you get for Farther’s day? I was thinking you would get tool oe a sear’s gift card. Ann
You were close. It was a GPS for my other car that actually can be driven!
Well I got the disc break kit for the 48. The motor runs good and I think I found some bucket seats at the junk yard for 15.00 a piece. Like your blog………an old car is a great exercise in overcoming problems! Lots of problems!
The first thing you want to do is buy a factory repair manual. It contains everything you need to know, and then some. They can usually be had on eBay for $40 or less. It will save you lots of time and money in the long run. Good luck with your build and keep up with the updates, I’ve saved it in my favorites.